
Scraping off a popcorn ceiling is only the first half of the job. What you do next decides whether the room ends up with a clean, even ceiling or one that shows every seam and scraper mark. If you're wondering what to do after popcorn ceiling removal, the order is the same in almost every house: let it dry and inspect, repair, skim or texture, prime, paint and clean up. This guide walks through each step, what national cost guides say each one typically costs, and a few things to watch for in Gainesville homes.
One note first. If your ceiling hasn't come down yet, it should be tested for asbestos before anyone scrapes it. Our approach is test first: if it tests negative, we remove it; if it tests positive, a licensed asbestos abatement contractor handles removal. See our asbestos testing page for how that works.
Step 1: Let the ceiling dry, then inspect it in raking light
Popcorn is usually softened with water before it is scraped, so the drywall underneath is often damp when removal ends. Give it time to dry before you judge it or start repairs; patching compound and primer don't go on well over damp paper. In Gainesville's humid months, from about mid-May through September, running the air conditioning helps the room dry out.
Once it's dry, hold a bright work light close to the ceiling so the beam skims across the surface at a low angle. That raking light exposes things you won't see with the overhead light on. Look for:
- Gouges or scrapes where the blade dug into the drywall
- Torn or fuzzy drywall face paper
- Loose, bubbled or exposed joint tape
- Nail or screw pops
- Cracks, especially along seams or near corners
- Water stains or soft, sagging spots
- Small patches of leftover texture
Mark each problem with a pencil so nothing is missed once you start working.
Step 2: Repair damage before any finishing
Repairs come before skim coating or texture, because finishing over a problem only hides it for a while.
- Torn face paper: seal it with a primer made for the purpose before applying compound. Raw paper soaks up moisture from compound and can bubble.
- Loose tape: cut out the loose section, re-tape it and feather it smooth.
- Fastener pops: drive the fastener back in or add a new one nearby, then cover it with compound.
- Holes and old fixture openings: patch them with drywall and tape, not just compound.
- Water stains and soft spots: find and fix the source first, whether that's a roof leak, a plumbing line or an air conditioning drain. Then replace any drywall that is soft or sagging and seal the stain with a stain-blocking primer.
Gainesville has seen storm damage to ceilings in recent hurricanes; during Irma in 2017, for example, a report described a tree falling through a home's ceiling. If removal uncovers old storm damage, it's worth repairing properly while the ceiling is already open. Our ceiling drywall and water damage repair page covers that work.
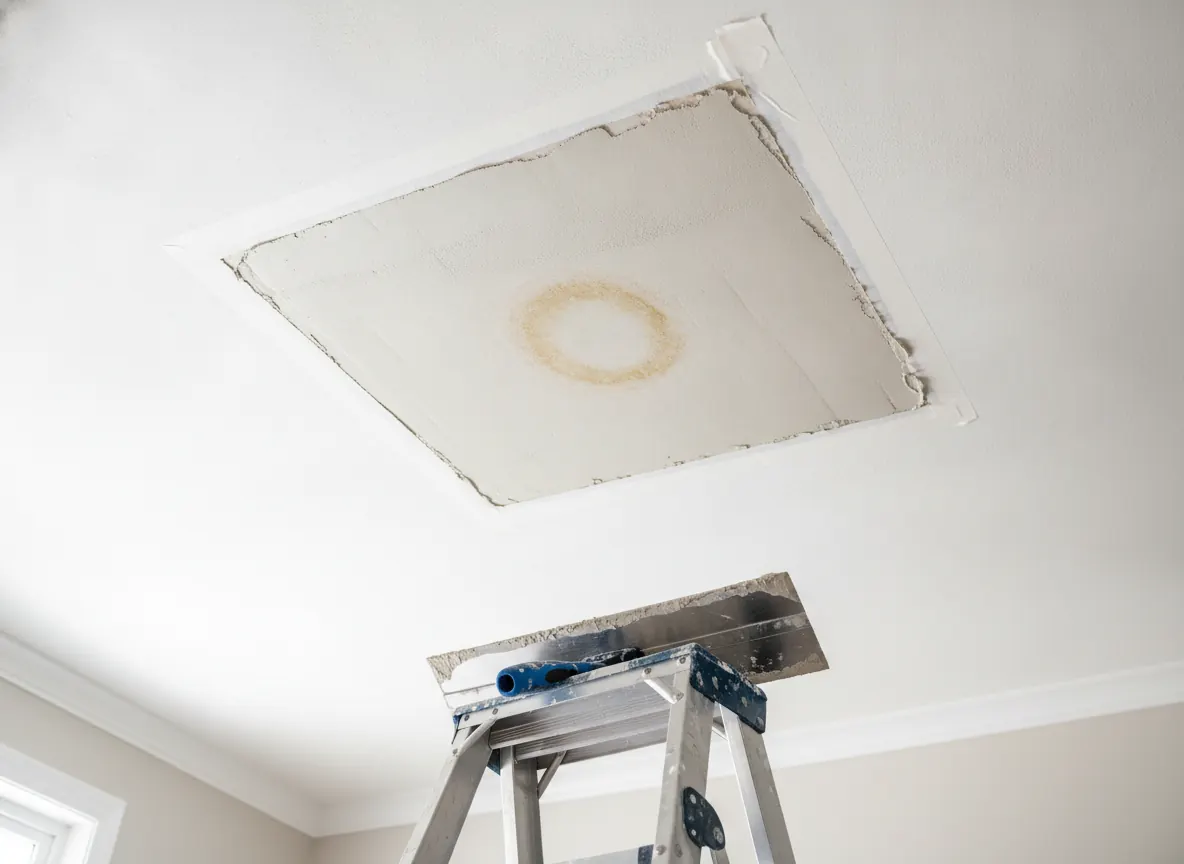
Step 3: Skim coat for smooth, or apply a new texture
With repairs done, choose your finish. A smooth ceiling means skimming thin coats of joint compound across the whole surface and sanding between coats until it's flat under raking light. A new texture, such as knockdown or orange peel, blends small imperfections and usually takes less labor.
National cost guides put a smooth-finish skim coat at about $1–$1.50 per square foot and retexturing at about $0.60–$2 per square foot. We compare the options in detail in smooth vs knockdown vs orange peel, and our smooth ceiling finish page explains what a Level 5 skim involves.
Step 4: Prime the ceiling
Don't skip primer. Fresh joint compound and bare drywall paper absorb paint at different rates, so painting straight over them can leave a blotchy finish where patches and seams "flash" through. A coat of drywall primer evens out the surface so the paint looks uniform. Over any water stain you sealed in step 2, use a stain-blocking primer so the mark doesn't bleed back through.
Make sure all compound and texture is completely dry before priming. In the wetter months, that can take longer than you expect.
Step 5: Paint the ceiling
Most ceilings are painted with a flat ceiling paint, because a flat sheen reflects less light and helps hide minor surface variations. White or a very light color keeps the room bright. Two coats generally give a more even result than one heavy coat. Work toward and away from the main window rather than randomly, and keep a wet edge to avoid lap marks.
National cost guides list ceiling painting after removal at about $1–$3 per square foot. Our ceiling painting page covers what's included when we handle it.
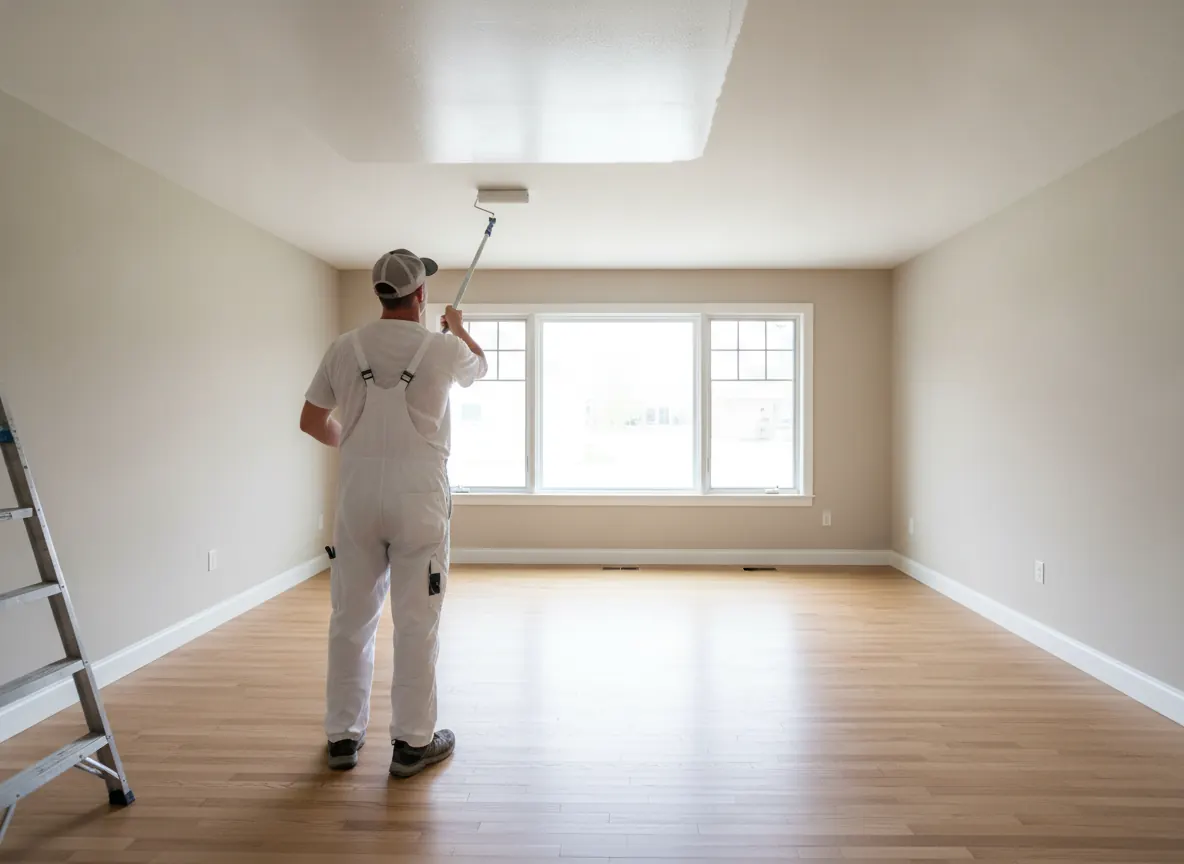
Step 6: Clean up thoroughly
Removal and sanding create a lot of fine dust and wet debris, so cleanup is a real step, not an afterthought.
- Bag scraped material as you go, and don't let wet debris dry and get tracked around.
- Roll plastic sheeting inward, folding dust into the middle, before you take it out of the room.
- Vacuum with a vacuum fitted with a HEPA filter rather than sweeping, which puts dust back in the air.
- Wipe down walls, trim, window sills and outlet covers with damp cloths.
- Replace the HVAC filter if the system ran during the work, and clean any vent covers you sealed.
Debris disposal typically runs $100–$500 in national cost guides, depending on the volume and how it is hauled away.
What it costs after popcorn ceiling removal
| Step | Typical range |
|---|---|
| Smooth finish skim coat | $1–$1.50 per sq ft |
| Retexture (knockdown / orange peel) | $0.60–$2 per sq ft |
| Ceiling painting after removal | $1–$3 per sq ft |
| Debris disposal | $100–$500 |
| Typical project total (removal and finishing) | $900–$3,100 (national average about $2,000) |
Typical ranges from national cost guides, 2024–2026. These are estimates; the real price comes from an in-home look.
Repair costs vary the most because they depend on what removal uncovers. For a full breakdown, see our popcorn ceiling removal cost guide. If you'd rather have one crew handle removal through paint, get a free quote and we'll look at the rooms in person.
Frequently asked questions
How long should a ceiling dry after popcorn removal?
It depends on how much water was used, the room's air flow and the weather, so there's no single number. Wait until the drywall feels fully dry to the touch before patching or priming. In Gainesville, humidity stays high from about mid-May through September, so running the air conditioning and allowing extra time is sensible during those months.
Do I need to prime after removing a popcorn ceiling?
Yes. Joint compound, repaired patches and bare drywall paper absorb paint at different rates, so skipping primer often leaves a blotchy ceiling where seams and patches show through. A drywall primer evens out the surface, and a stain-blocking primer keeps old water stains from bleeding through the new paint. Prime only once everything is completely dry.
Can I paint the ceiling right after scraping the popcorn off?
You can, but the results are usually disappointing. Scraping leaves gouges, exposed tape and uneven areas that paint alone won't hide, especially in rooms with strong window light. Most ceilings need repairs and either a skim coat or a new texture first, followed by primer. That extra work is what makes the finished ceiling look even.